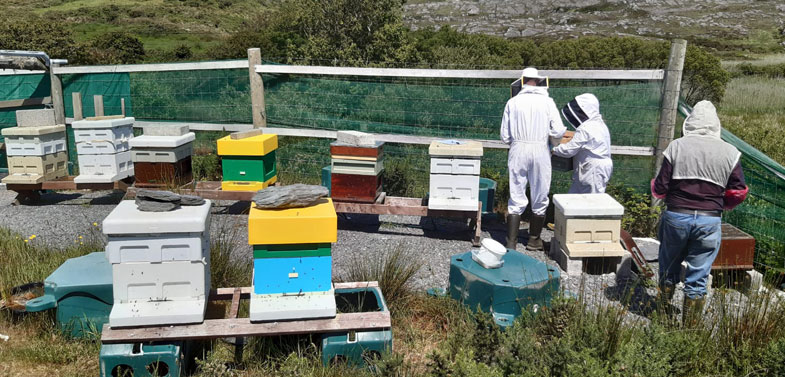
We will address some of the handy practical things to be considered when you start your beekeeping journey. How much are you prepared to spend on hives and equipment, how much free time are you prepared to spend with your bees, have you somewhere to site your hive(s) where they do not torment people or animals, have you a little space in your shed for storage?
Becoming a beekeeper might always have been on your bucket list, but my definite advice for any beginner is to do an introductory course and join an association. Through this means you will meet like-minded enthusiasts and experienced beekeepers, many of whom are only too delighted to set you in the right direction. Most associations have a demonstration apiary giving all students a chance to handle bees and become familiar with the hive.
Your beesuit and smoker will be like an extension of you. As with any form of animal husbandry, hygiene is of utmost importance so it goes without saying that you wash your suit regularly and keep your tools clean.

Lighting the Smoker
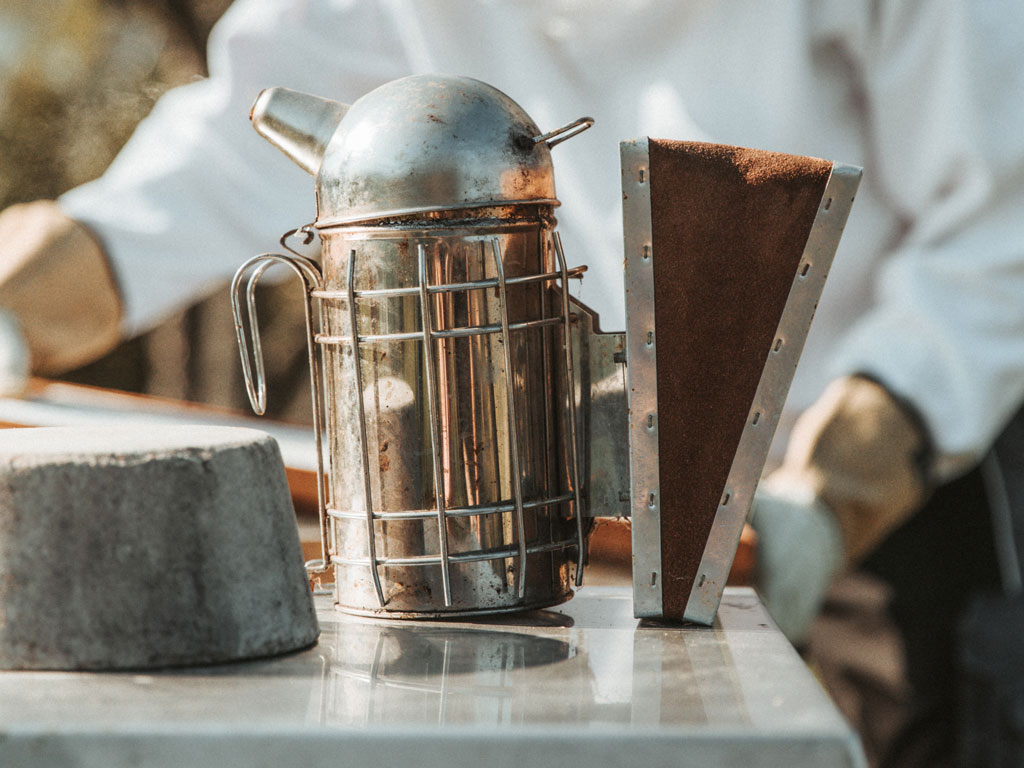
Now, from a practical perspective, how do you light your smoker and what fuel do you use? Getting the smoker lit is no big deal, but if your fodder ain’t dry — stop. Get newspaper strips lit first inside the body and then gradually add dried hay/long grass, wood chips/rotten dry bark from your stroll in the woods. We generally use dried hay. A binbag full will last for weeks and it costs nothing.
Now you’ve got smoke going, close the lid and gently give the smoker a couple of gentle puffs to keep a small plume drifting away while you’re walking to the hives or reading hive notes and getting yourself settled for the start of your inspection, etc. Remember to bring fodder with you because the first fill settles down and can go out if forgotten (that’s a pain). Use your hive tool to push fodder down because inside is hot for rubber gloves. Regularly check that the smoke does not get hot. We certainly don’t want to singe the bees wings.

Using the Smoker
Now when you are ready to use smoke, just puff slowly across the lower front of the hive entrance and wait for the smoke to drift into the box before you lift the roof. Smoke sends your bees scurrying for food inside so give ’em a little chance. They are quieter with their little bellies full. You can put the smoker downwind side of the hive where you can reach it. If the bees are not getting out of the way when the hive is opened, give them a gentle puff from about 6’’ distance so you won’t burn bees wings off. In this part of inspection we mostly use water spray if the day isn’t coldish and that scatters them so you can see the comb, and keeps them quiet if needed. Again, be gentle — don’t be giving them a shower!!
Removing a Sting
When you get a sting, dislodge it by scraping towards the sting sac with your hive tool. Never catch it or squeeze the sting, because that pumps more venom into you. Quickly but gently puff smoke around the sting site. This minimises the bee pheromone alarm signal spreading — you won’t want any more of her helpers to come and give you a few more picks!
Putting out the Smoker
Once you are finished your inspection and leaving the bees, keep the smoker in your hand and if there are any bold followers just gently puff around your head as you walk to where you can tip out any remaining smoker fuel. Be very careful to stamp any embers out and give them a spray of water, because if the ground is dry and grassy there is a chance that a small ember could be reddened and light up. You don’t want to have to call the fire brigade! Always take a look back and check you have all your kit with you because if it’s left behind the grass will have hid it and then you’ll be crying! Or worse, you’ll have to buy another whatever it was you lost.
It’s really handy to have a container (a box, bucket, canvas bag, etc.) to keep your bee inspection kit in. The fact about kits is they never get smaller! But, at the beginning, a light-weight bucket/container does fine.
Hygiene
Hygiene is always so important, so get into a cleaning habit of having washing soda crystals or a bleach and water solution to hand. Mix with elbow grease and use vigorously, Once you increase in colony/hive numbers this wash stuff needs to be with you near the hives to clean your hive tool and gloves. Surfaces you touch in one hive might be contaminated or have undetected disease and then you will be spreading disease between your hives instead of caring for your bees.
Taking Hive Notes
Now is the time to make and review your hive notes while your inspection is fresh in your mind. If you only have one or two colonies you tend to kid yourself that you are an elephant and can remember everything (where are your keys?). By analysing your notes now, you come prepared the next time, i.e., you’ll remember to bring that super, have your frames made up, etc.
What is Beekeeping All About?
A journey into understanding bees, habitats, pollinators, pests, and the rhythms of our climate.
Getting Started
Practical things to consider when going into beekeeping.
Beekeeping in the Irish Climate
How to ensure that your study guides are aimed at the correct climate.
Practical Inspection Tips
Handy practical things to be considered when you start your beekeeping journey
Occupants of a Hive
What types of bees are there in a honeybee colony?
Pollen & Nectar – Sources and Purpose
Understanding the main requirements of honeybees – pollen, nectar, water and propolis.
